Why float matters before you buy
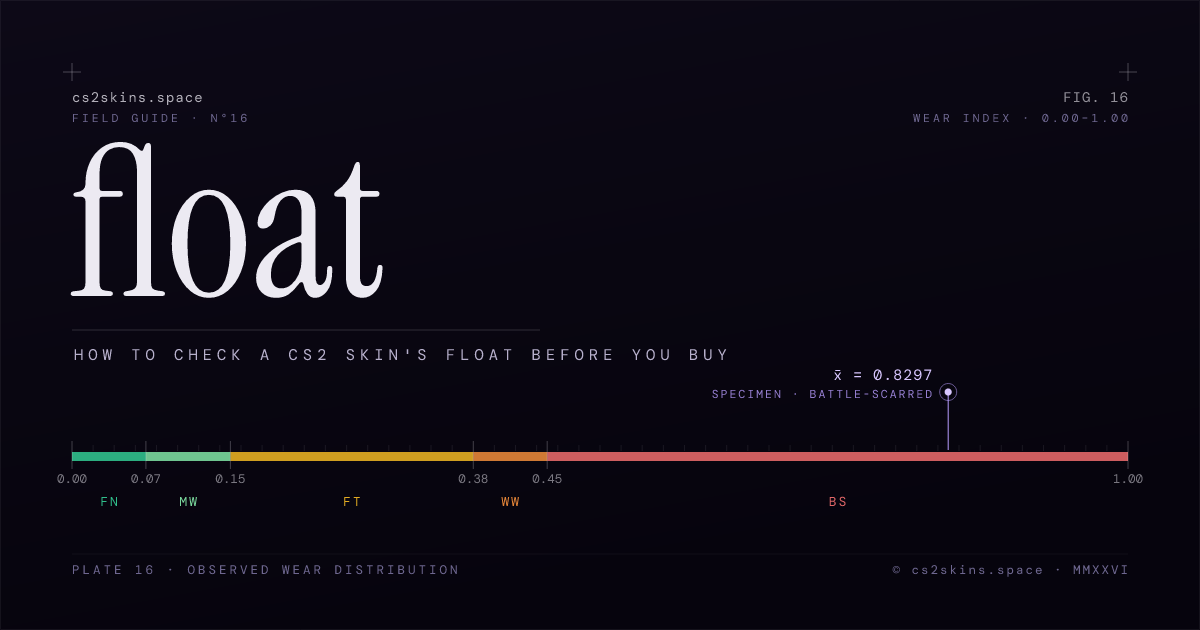
Every skin carries a hidden float value (officially the paint wear) — a permanent number between 0 and 1 that decides how worn the texture looks and which wear tier it lands in. It never changes, so the float on the copy you buy is the float you keep forever. Within a single wear tier two listings can look quite different and cost very different amounts, which is exactly why you check the exact number before paying rather than trusting the label alone.
If the concept is new to you, read CS2 float value explained first — it covers the five tiers, float caps and why low floats command a premium. This guide assumes you know what float is and focuses purely on checking it on a real listing.
Step 1 — Open the in-game inspect link
Every tradeable item exposes an inspect link: a steam:// URL that points at that exact copy of the skin. Find the "Inspect in-game" button or link on the listing and click it. The game launches and renders the precise item — its unique float, pattern, stickers and charms — so you're looking at the real thing rather than a stock catalog image. If a listing has no inspect link at all, treat that as your first warning sign.
Step 2 — Read the exact float in the spec panel
Once the inspect view loads, read the exact float / paint-wear value and the pattern index — not just the wear label. Reputable marketplaces print both directly in the listing's spec panel so you don't even need to launch the game. The label tells you the tier; the precise float tells you where inside that tier the copy sits. A 0.16 Field-Tested is nearly Minimal Wear, while a 0.37 Field-Tested is almost Well-Worn — same label, very different skin.
The pattern index matters for finishes where the seed changes the look — a low pattern can mean a blue-heavy Case Hardened or a specific Doppler phase. For the rarest seeds, see blue gem patterns explained.
Step 3 — Use a third-party inspector
If the marketplace doesn't print the float, paste the inspect link into a third-party inspector. These tools resolve the link and render the float, pattern index and clean screenshots of the exact item, often from multiple angles. They're the quickest way to confirm the precise number when a page only shows the wear label, and they let you eyeball how the wear actually looks on that specific copy before you commit.
Step 4 — Compare against the finish's float range
A raw float means little until you place it against the finish's minimum and maximum caps and its typical range. Many skins are capped — the classic example is the AK-47 | Redline, whose float floor sits around 0.10, so it can never be Factory New. A float of 0.12 is excellent on a capped skin like that but unremarkable on one that rolls all the way to 0.00. Always judge the number relative to what that specific finish can actually produce.
On our skins catalog every weapon page lists the wear range and float caps for the finish alongside a live multi-market price grid built from our own in-house algorithm across dozens of marketplaces. Browse the exteriors reference for the tier boundaries, or jump straight to a hub like the AK-47 or AWP to see ranges per finish.
Step 5 — Sanity-check the price (and the tier boundary)
With the float and the finish's range in hand, ask whether the asking price is justified. A low-float copy of a clean gradient or knife finish earns its premium; a mid-float copy of an Asiimov-style skin that's designed to look worn does not. Compare the listing against the live grid for that finish and walk away from anything priced like a pristine example when the float says otherwise.
Here's the value tip worth memorising: a float sitting just inside the cheaper side of a tier boundary is often a steal. A 0.151 Field-Tested looks almost identical to a Minimal Wear but is priced as a Field-Tested. Hunting those near-boundary copies is one of the easiest ways to buy a clean-looking skin for less — see our budget AWPs and StatTrak deals for examples.
Red flags: listings that hide the float
Any listing that shows only the wear label and no exact float deserves a hard pause. Sellers most often hide the precise number when it's unflattering — high for the tier, or perched right at a boundary where it inflates the apparent value. Be doubly careful near tier edges, where a fractional difference changes the price bracket entirely. If you can't confirm the float through an inspect link or a third-party inspector, don't pay.
Your float-checking routine, in one line
Open the inspect link, read the exact float and pattern in the spec panel, confirm it in a third-party inspector if needed, compare it to the finish's range, then sanity-check the price — and never buy a listing that hides the number. For the underlying theory revisit float value explained, and browse all our walkthroughs in the guides hub or look up any term in the CS2 skins glossary.